You already know that you can make your own invitations. But did you know that you can make them magnetic? Our personal favorites are the magnetic pockets, because you can put an invitation in it and give the recipient a gift that can be used for many years to come, as you can replace it with, for example, a photo from the big day. The small 3x1 mm. power magnets are also brilliant for making an invitation even more exclusive. You will be surprised how much power such a small magnet has, and it is more than enough for even thick cardboard invitations.
Below we will go through the different ways to use the magnets, and then we will of course also show you the product cards for the products we have used for the different invitations.

DIY invites
There are many ways to make the invitation. We are experts in magnets - not in cardboard and paper (but we are DIY enthusiasts). So here we will try to inspire you to make magnetic invitations for the next time you have a wedding, confirmation, christening or another big event.
We will show all products from this DIY at the bottom.
Magnetic gift for the guests
What if we told you that you can send your invitation to the guests and, at the same time, give them a gift that can be used for many years to come?
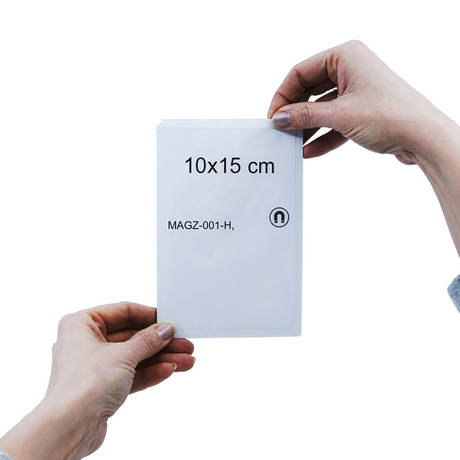
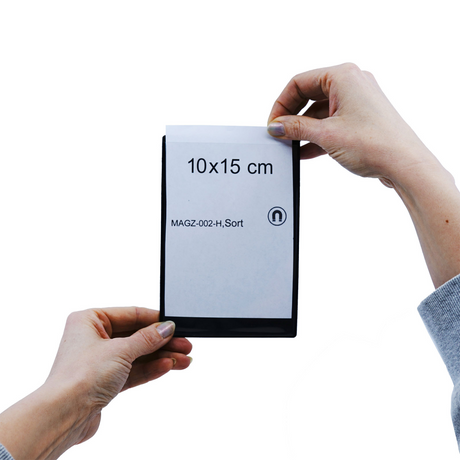
If you send your invitation in a magnetic photo pocket, you get 2 brilliant solutions in one:
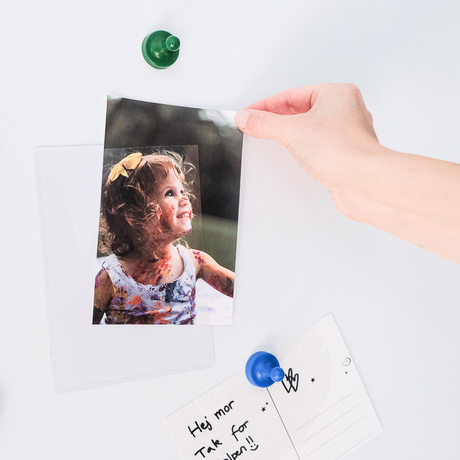
1. The recipient can put the invitation on the fridge or another magnetic surface at home, so that the date and wish list are not lost.
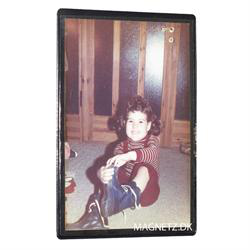
2. When the event is over, you can also send photos from the wonderful day, which the guest can put in the magnetic pocket instead of the invitation - as a nice memory. Or the guest can use it for other beautiful things that can decorate the fridge.
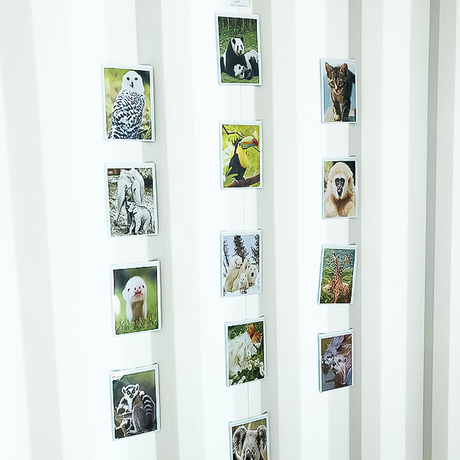
But you can also use magnetic pockets on the special day, where you use them as place cards with a small photo in them, or if you want to hang the menu around the party room.

Save the date
There are other ways to make people remember the date too. We love the little 3x1 mm. power magnets because they are so small that they can be elegantly hidden inside things like cardboard and paper, so that they can be used as a magnetic lock or a fridge magnet. And no, that's not a typo: They really only are 3x1 millimeters - you can see how small they are in the middle photo below, where Line is holding a row with 10 of the small magnets. This makes them brilliant for DIY invitations and "save the date" messages.
See for example how we have made an invitation in 2 parts here:
- A large invitation with all the information about the big day
- A small magnetic extra part with practical information (save the date / remember the date)

The invitation is made of cardboard in different colors and layers. The front "flower" is made of 2 layers of cardboard with a small 3x1 magnet in the middle, so it can be hung on the fridge, and then the large invitation and the small magnetic "save the date" are tied together with string and bow, so it all looks extra delicious, and so it's like getting a gift for the recipient. And who doesn't love a little wow effect?
Invitation with magnetic closure
We also have a third trick up our sleeve: Make your own invitations that are closed magnetically. It makes the invitation look absolutely perfect when the recipient opens the letter - especially invitations with many parts or made of thick cardboard deserve a small magnetic closure as the icing on the cake. A way more elegant and exclusive way to make invitations.
All you need is a card that consists of 2 layers - or the ability to hide the magnet behind some DIY paper tape or similar, so that it is invisible and doesn't come off.
Here are our suggestions for making your own invitation for a confirmation or wedding, where all the details are important:

We admit that we are better at magnets than crafting, so you can definitely make the finish much nicer than we have made ours. But we did our best and are actually quite proud of the result. For this invitation we used the following:
- 1 card of card stock paper
- 1 piece of thick paper (with the invitation printed on it)
- 1 glue stick
- 2 pcs. 3x1 mm. magnets
Pro tip: remember to place the magnets on the card between the layers before gluing them together. This way you not only ensure that they are in the right place, centered against each other, but you also ensure that you put the poles in the right direction, so that they attract each other instead of repelling.
Endless possibilities with magnets as a gift
You can always find more DIY and videos on Pinterest and on Youtube by searching for Magnetpartner.com.
If you have suggestions for other ways to use the magnets, or if you need help testing something before buying, please do not hesitate to contact us. Our customer service is open all week days in the opening hours and we love to help with magnetic DIY.